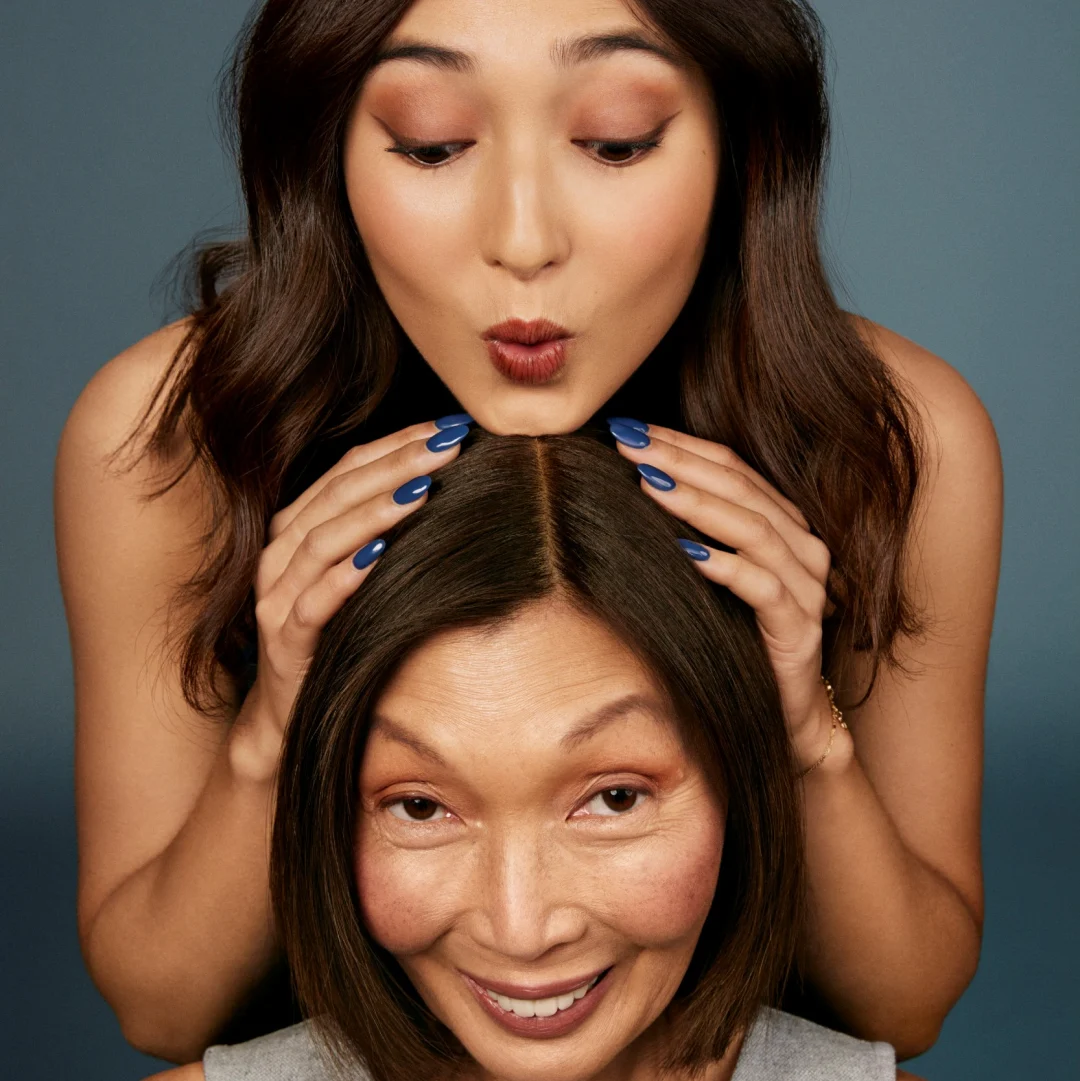
Everything you need to know about dyeing your hair for the first time
Top five things we wish we’d known!
Read more

Not sure where to start? We've got you covered!

Dyeing your hair at home can be a fun and cost-effective way to change up your look, giving you so many great colour options to choose from. But starting without going through all the recommended steps could make it go less smoothly and mean you have to fix any small mistakes later on.
We've put together a step-by-step guide for how to colour your hair at home - full of ways to make sure you can easily get the look the way you've always wanted on your first attempt.
Changing your hair colour can be an exciting way to express yourself, and deciding which colour to pick can be fun but a little daunting. Breaking this decision down into a couple of steps can help keep it stress-free:
Before you start getting concerned about what dye might suit you, it's a good idea to gather some colours you like the idea of trying out — no need to overthink it. We're just gathering options to help us choose later on. If you'd like some more ideas, check out classic looks and some of our newest colours on Instagram.
You've already narrowed your choices by getting a range of colours you'd love to try. From the options you've been given, we need to think about which shades and tones would work for you.
Do you want something that will come out quickly? Use a temporary colour. Want it to gradually fade away over time? Try a demi-permanent, such as Natural Instincts. Ready to commit? Use a permanent colour which will give you the most colour result options - but just know you’ll need to touch up your roots in 4-6 weeks.
To find specific shades, see our range of hair colouring products for blonde hair, brown hair, black hair, red hair, violet hair and various bright colours.
It's important to know if you're allergic to a product before you use it, especially if you're using an at-home hair dye for the first time. Doing an allergy test isn't one of the fun parts of dyeing your hair, but it's super important for ensuring you have the best experience with your new colour.
Take a look at the final result and decide if it looks how you expected. If it is a lot darker or lighter than you imagined, there are a couple of things you can do to try and fix that. If it's too light, you should try one shade darker. If it's too dark, try going one shade lighter.
Not following instructions can lead to undesired results.
You've spent a few days considering and testing colours, and now it's time to get started on the main event - actually dyeing your hair. Not long to go until you can achieve your dream colour!
There are a few things to prepare before you get going:
Gently brush your hair through to remove any knots avoiding running the brush on your scalp.
Use either clips or bands to divide the hair into four sections.
Start applying the mixed dye to where you have the most grey, if any, following the application and timing instructions on the leaflet, going from one section to the next. Use the applicator tip to part the hair then apply a ribbon of colour and repeat, working in small, neat sections to ensure an even final result. Make sure the colour is evenly distributed by using your fingers if you need to, so the colour is applied thoroughly.
Then continue onto mid-length and ends, still working along in small sections to maintain that even coating. Try to apply it as efficiently and quickly as possible to be sure that one part of your hair isn't exposed to lots more time than another. Having a friend around can speed this step up and make it more enjoyable!
Set a timer for how long the instructions say to leave the product in or as indicated by your strand test. While your dye works, wipe any extra product off your neck and forehead with a wet cloth to make sure you don't stain your skin.
All that's left to do now is rinse your hair with lukewarm water until the water runs clear. Then apply the conditioner that comes in the kit, rinse after two minutes and dry it.
Now your new hair looks just how you imagined it, so you're ready to go and share it with the world!
If you have any questions after you’re done, contact us for support.
Looking after your new hair colour is important for ensuring you enjoy the look and feel of it for as long as possible. To keep your newly dyed hair looking as healthy as possible, here are a few tips for maintaining your colour:
And if you want even more tips, check out our guide for maximising the lifespan of your colour.